With the infinite amount of product choices out there, deciphering the right skincare for your skin needs can often feel like a tedious task. No matter what skin type you are, the process of building a reliable routine of skincare staples requires some degree of trial and error. I often think back to the rise of the K-Beauty wave in the West, which saw maximalist skincare routines become fashionable. Fast forward to now, and “skinimalism” is the talk of the town, with skinthusiasts retiring from their 100-million-step routines to embrace a ‘less-is-more’ skincare approach.
Frankly, I’ve always vouched for a more streamlined beauty routine that has zero frills and gets right down to business. For all you newbie skin nerds reading this right now, this blog post talks about the best order for your skincare routine! I’m taking things back to basics with a rundown of steps and staples that are 1. non-negotiable, 2. effective, and 3. an absolute breeze to carry out, even in the hastiest morning rush.
Your PM Routine
Step 1: Cleanser
Your nighttime skincare routine is a lot like a reset button for your skin. While you hustle and grind tirelessly, your skin works overtime, too, to fight all kinds of free radicals around the clock. A good-quality cleanser allows you to wash away all the crud on your face, from makeup, sunscreen, dirt, grime, and a multitude of icky pollutants that your skin has had to endure the entire day. Essentially, this step gives your skin a chance to BREATHE, and skipping out on it is the quickest way to catalyze premature aging. Consider this: a cleanser is probably the cheapest investment you can make for yourself for long-term gain. *insert mic drop here*
Step 2: A Targeted Treatment
The most common skin woes amongst adults are fine lines, redness, pigmentation, breakouts, and elasticity. These can occur solo or at the same time and, when they do materialize simultaneously, it’s essential that you treat them one at a time and not all at once. Why? Well, first of all, your skin (and bank account) will for sure freak out, but for the most part, this approach will allow you to stick through the routine of using a single treatment over a prolonged period, giving your skin the time it requires to adjust and respond to the product.
On average, the skin takes roughly 6-8 weeks to show visible results so try to stick it out but also minimize and prioritize your skin focuses. So if you’re acne-prone, an acne treatment should be of precedence, and if hyperpigmentation is causing you grief, focus on products that’ll help even out your skin tone.
Step 3: Eye Cream
When it comes to the eyes, I believe in eye creams when they come with intention! Target your specific eye problems. If it’s just to have a fancy hydrating moisturizer, save yourself some cash and use Vaseline. Otherwise, look for specific ingredients to target your problem. If you want to tackle fine lines and wrinkles around the eyes, you can’t go wrong with a lightweight OTC retinol. Apply a little under the eyes and seal it in with Vaseline. Or, use Vaseline as a buffer and apply some to the area before your retinol to help minimize irritation if your skin is on the more sensitive side.
You can also splurge on an eye cream with retinol or peptides which can help with fine lines. For redness, look for eye creams with Vitamin K or Arnica. And if your issue is puffiness (like many of us in the morning) caffeine is a great ingredient to combat it. Lastly, for pigmentation, you will benefit from brightening ingredients like kojic acid, and niacinamide. Your serums and moisturizers with these ingredients already in your skincare arsenal can do the trick, but eye creams tend to be richer in moisture and gentler on the eyes.
Step 4: Moisturize
To complete your evening routine, moisturize, moisturize, moisturize until you look like a glistening Krispy Kreme donut. That way, you’ll adequately hydrate, feed, and seal your skin.
Your AM Routine
Step 1: Skip Your Cleanser But…!
And there’s a big BUT, only do this if you aren’t extremely oily or if you have dry skin. A thorough rub down with water is enough to get rid of any residue left behind by your nighttime skincare routine. And for those with very oily skin, use a cleanser in the morning but keep in mind that over-washing is a legitimate thing, and when this occurs, it can result in your sebaceous glands working in high gear to produce even more oil (which is not ideal). A tip? Switch up your cleansing routine as days go by — maybe do day-and-nighttime cleansing four times a week and then for three days out of the week, only cleanse at night, and see how your skin responds to this.
Step 2: A Vitamin C Serum
This will give your skin a good fix of antioxidant protection. Also, vitamin C has been proven to boost the efficacy of your SPF, so you can’t go wrong with incorporating a vitamin C serum into your routine.
Step 3: Do Without A Moisturizer…
…If (and a major emphasis on the if):
- You live in a very hot, tropical, or humid environment,
- You wear a mask for the majority of the day or both. If this sounds like you, you can then skip your moisturizer step entirely or opt for something a bit more lightweight, like a hydrating serum, followed by some SPF. But for those who live in a drier environment and struggle with parched skin, slather on a rich, creamy moisturizer daily and accompany this with two fingers’ worth of sunscreen.
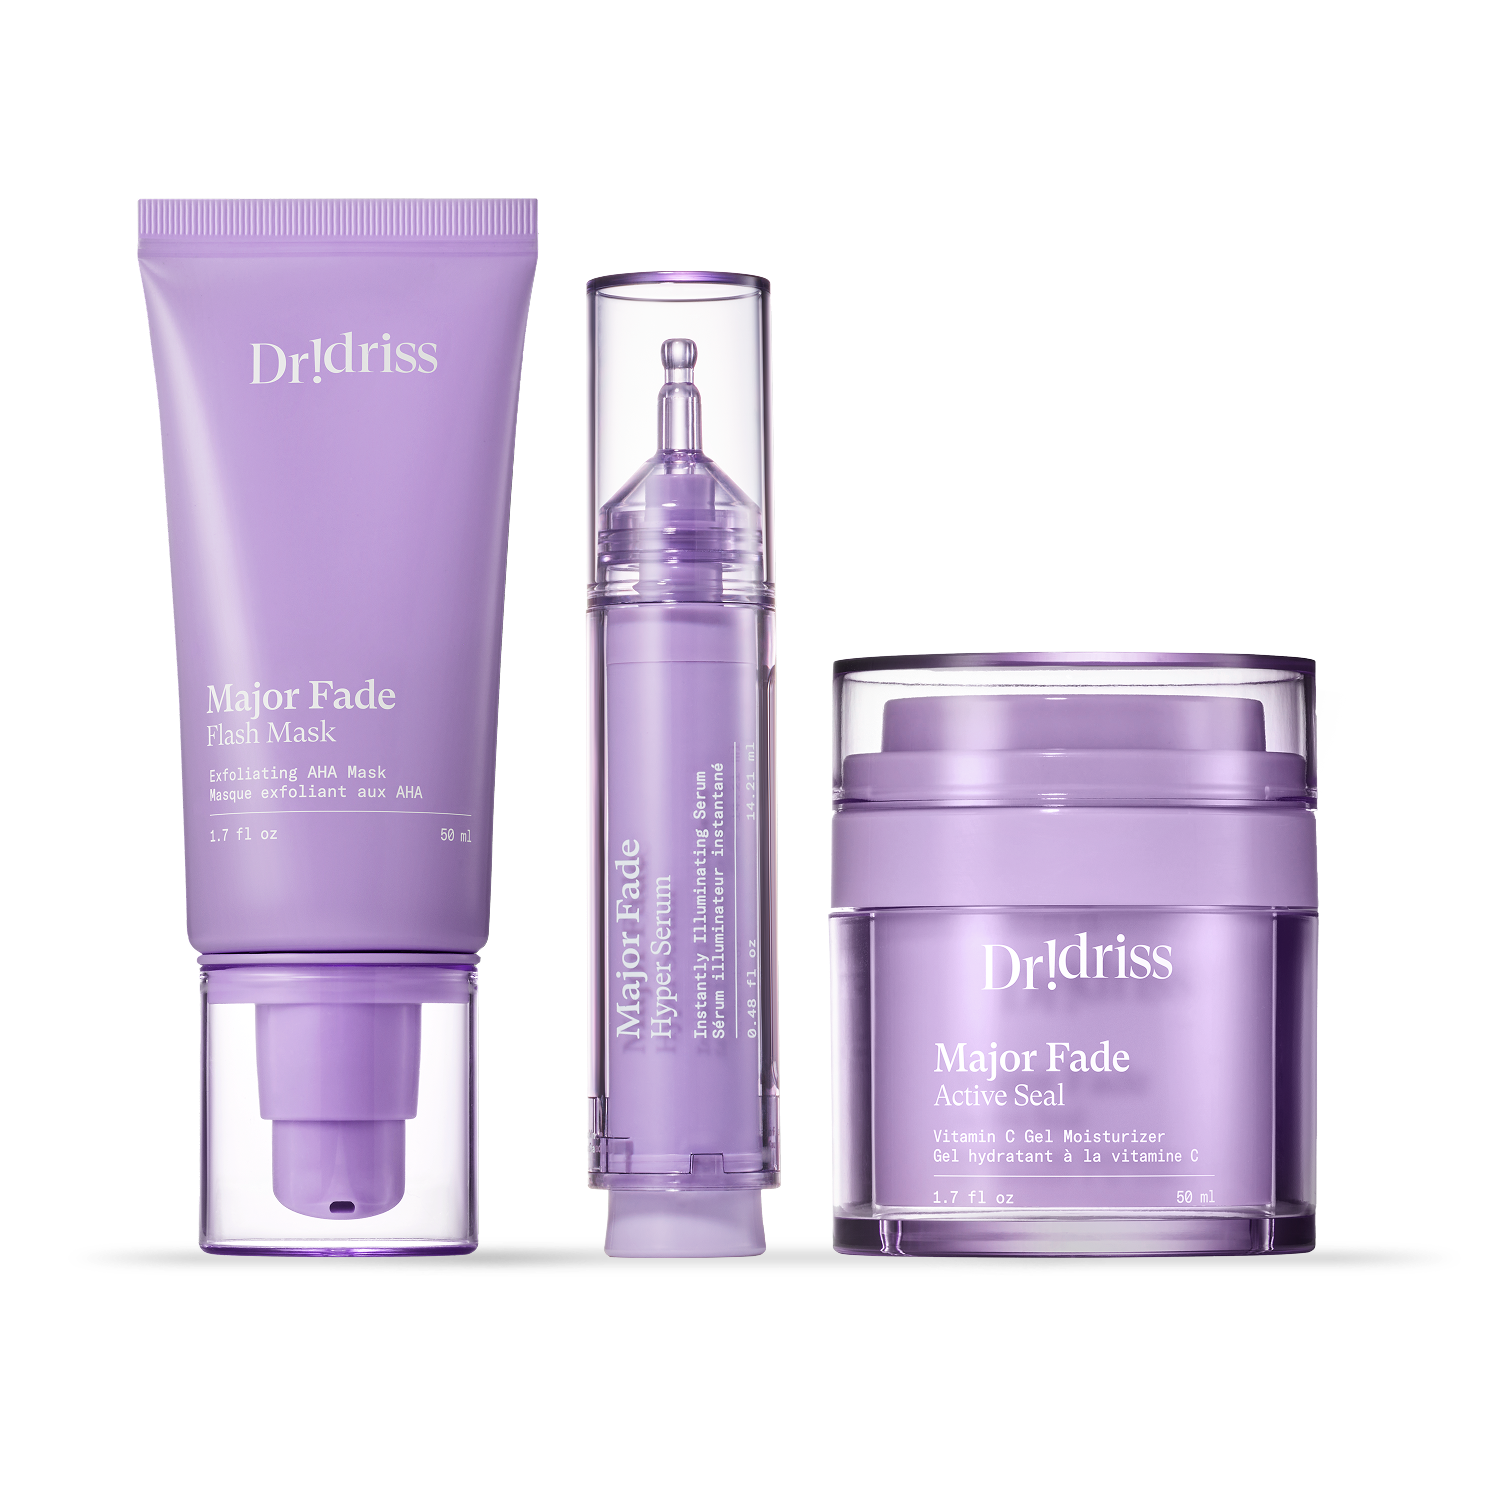
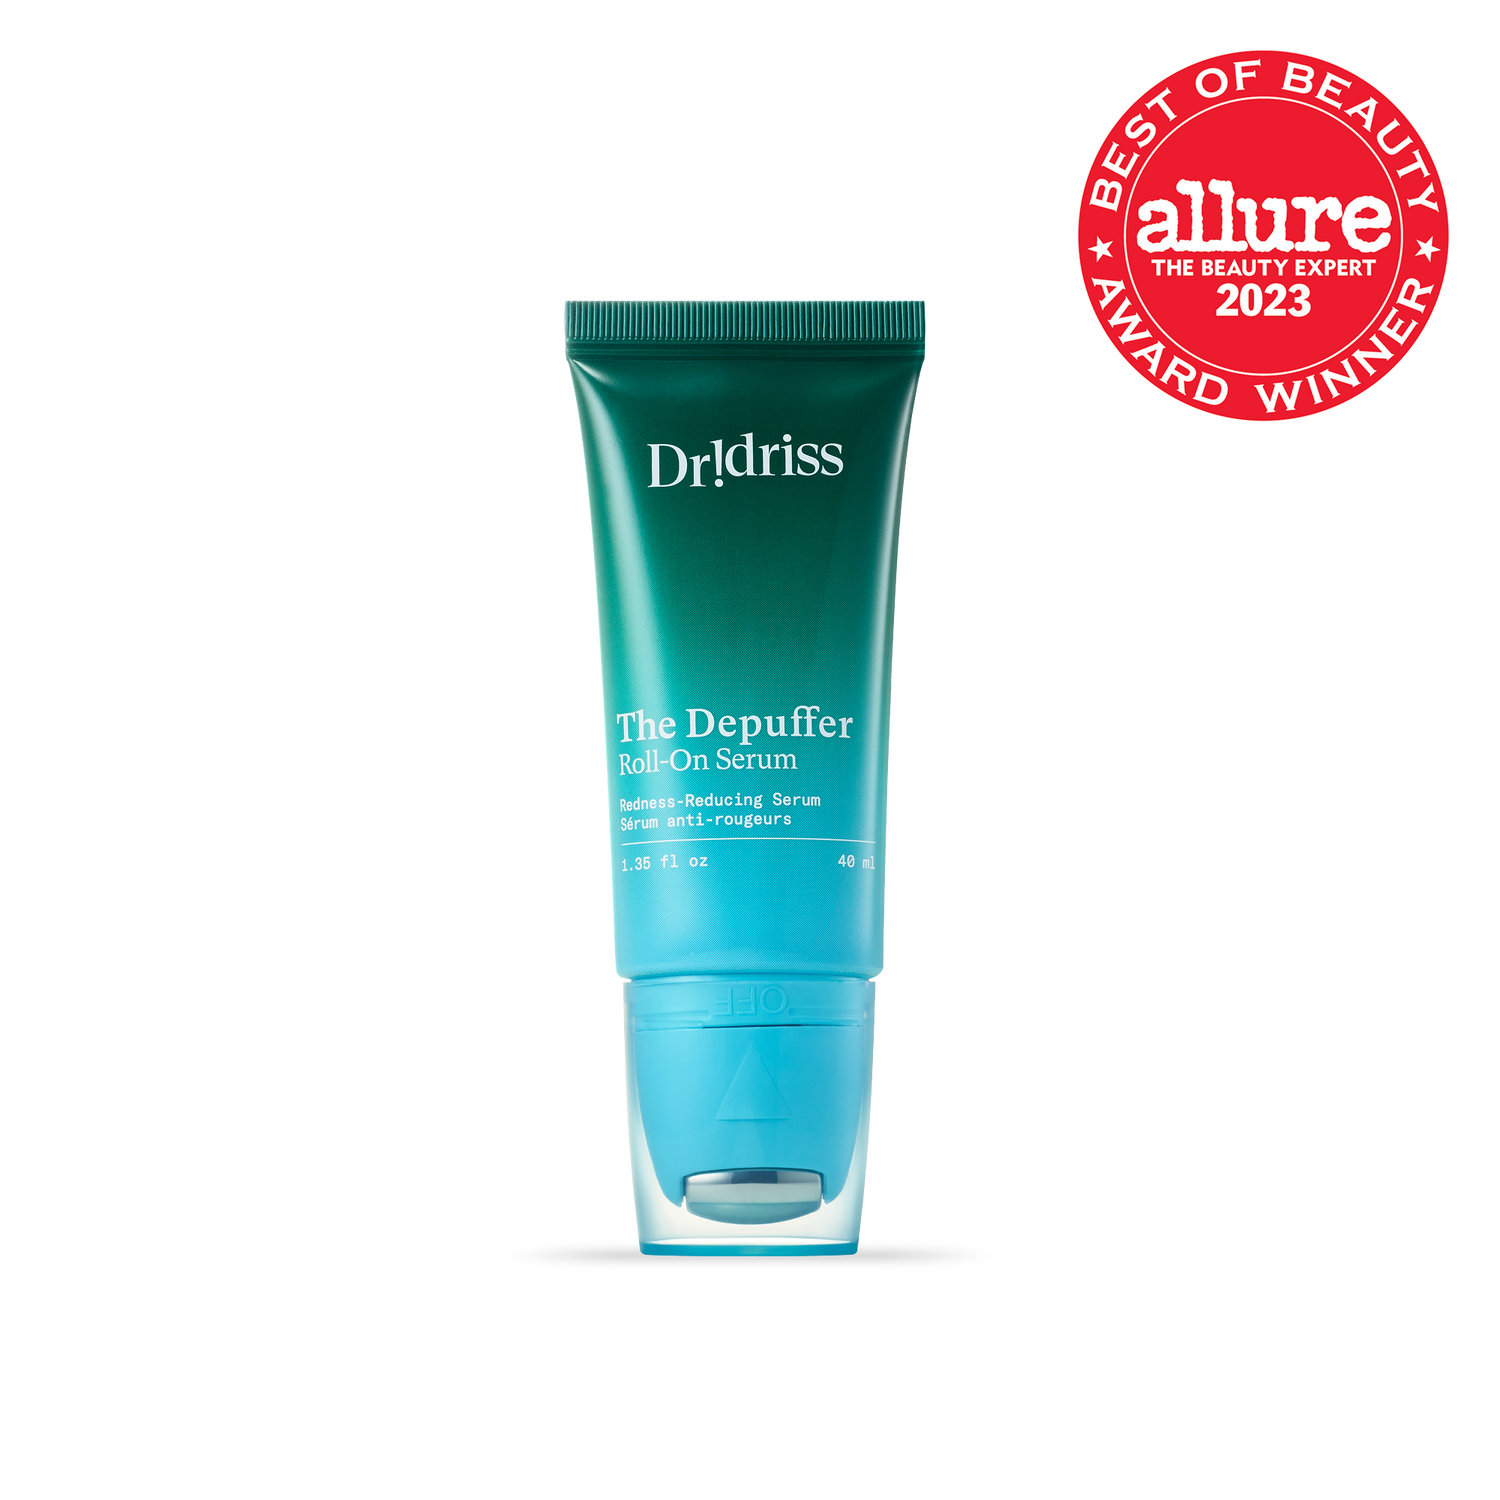
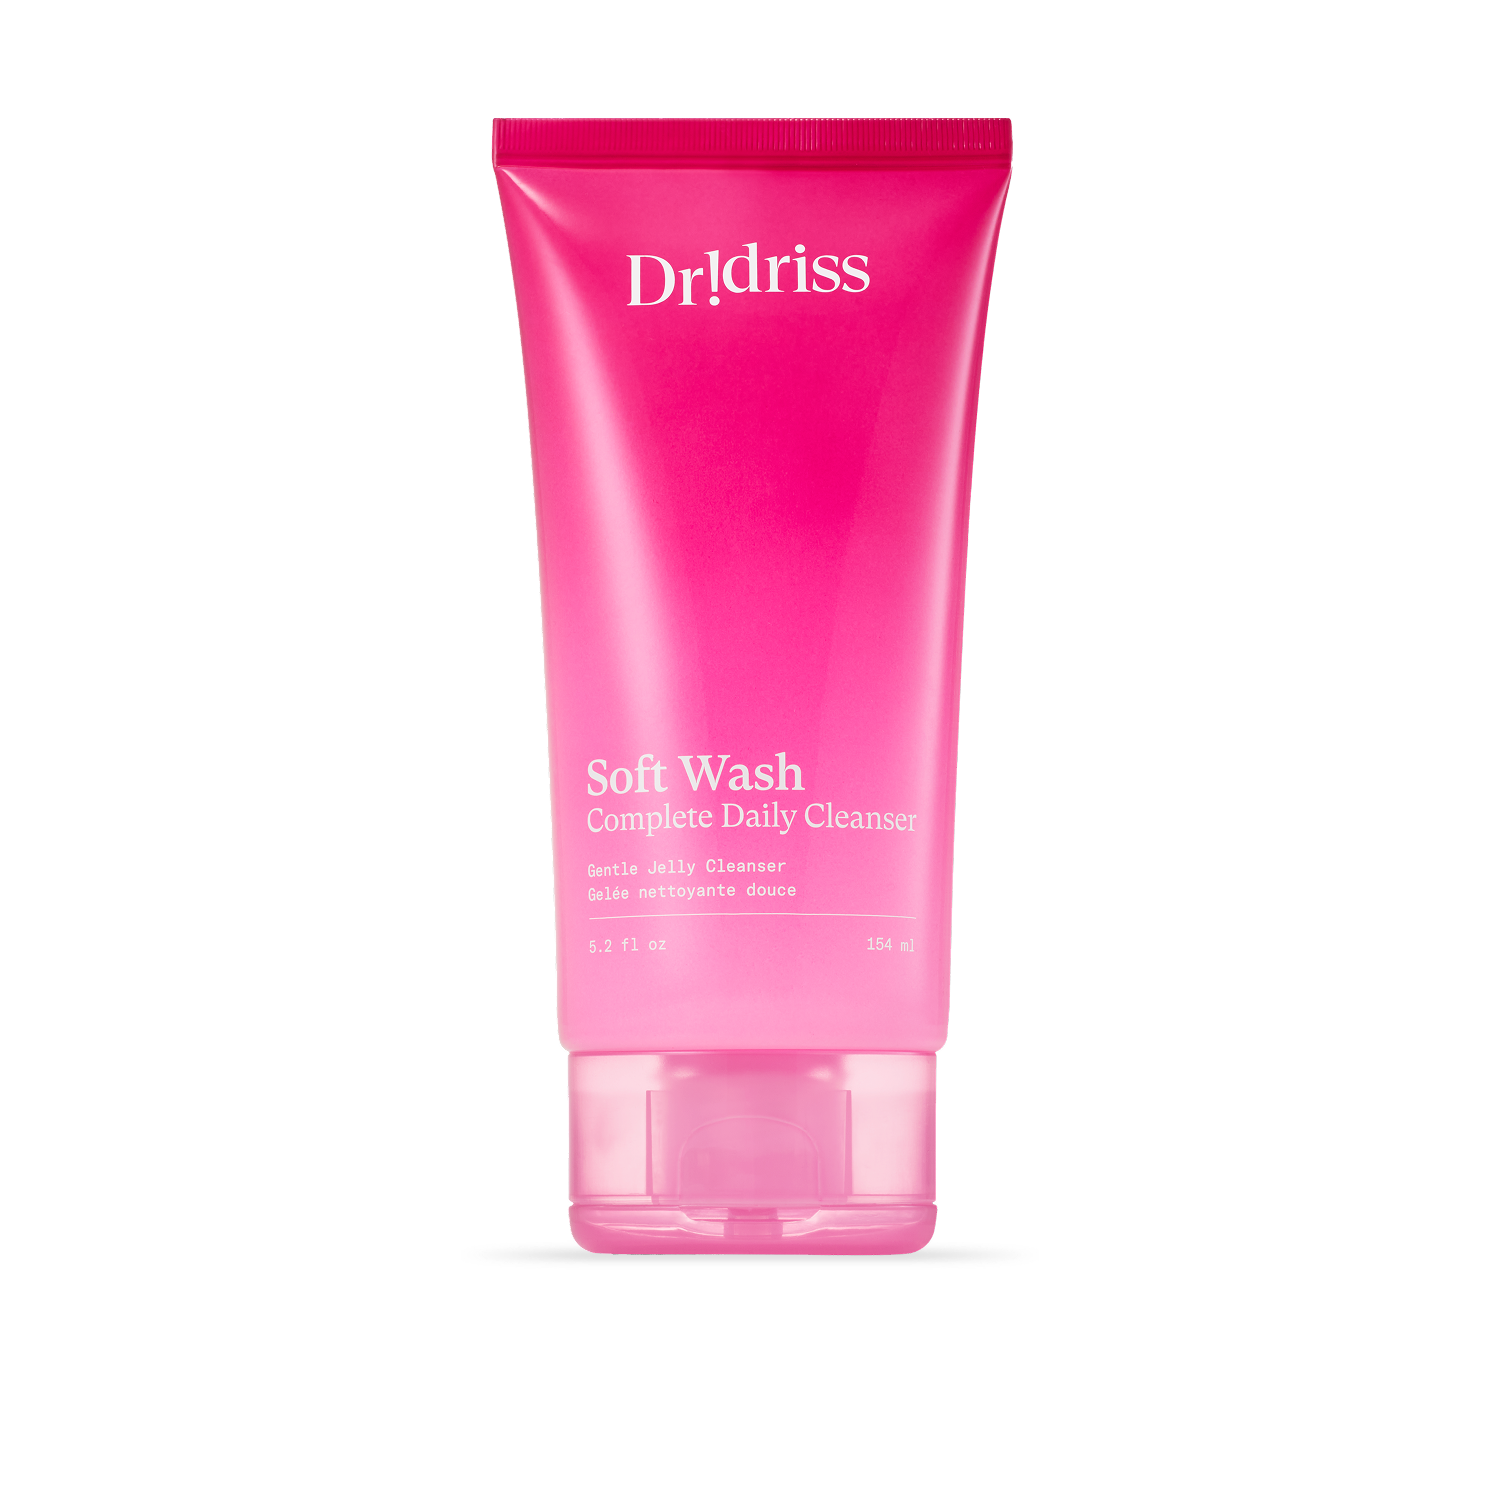
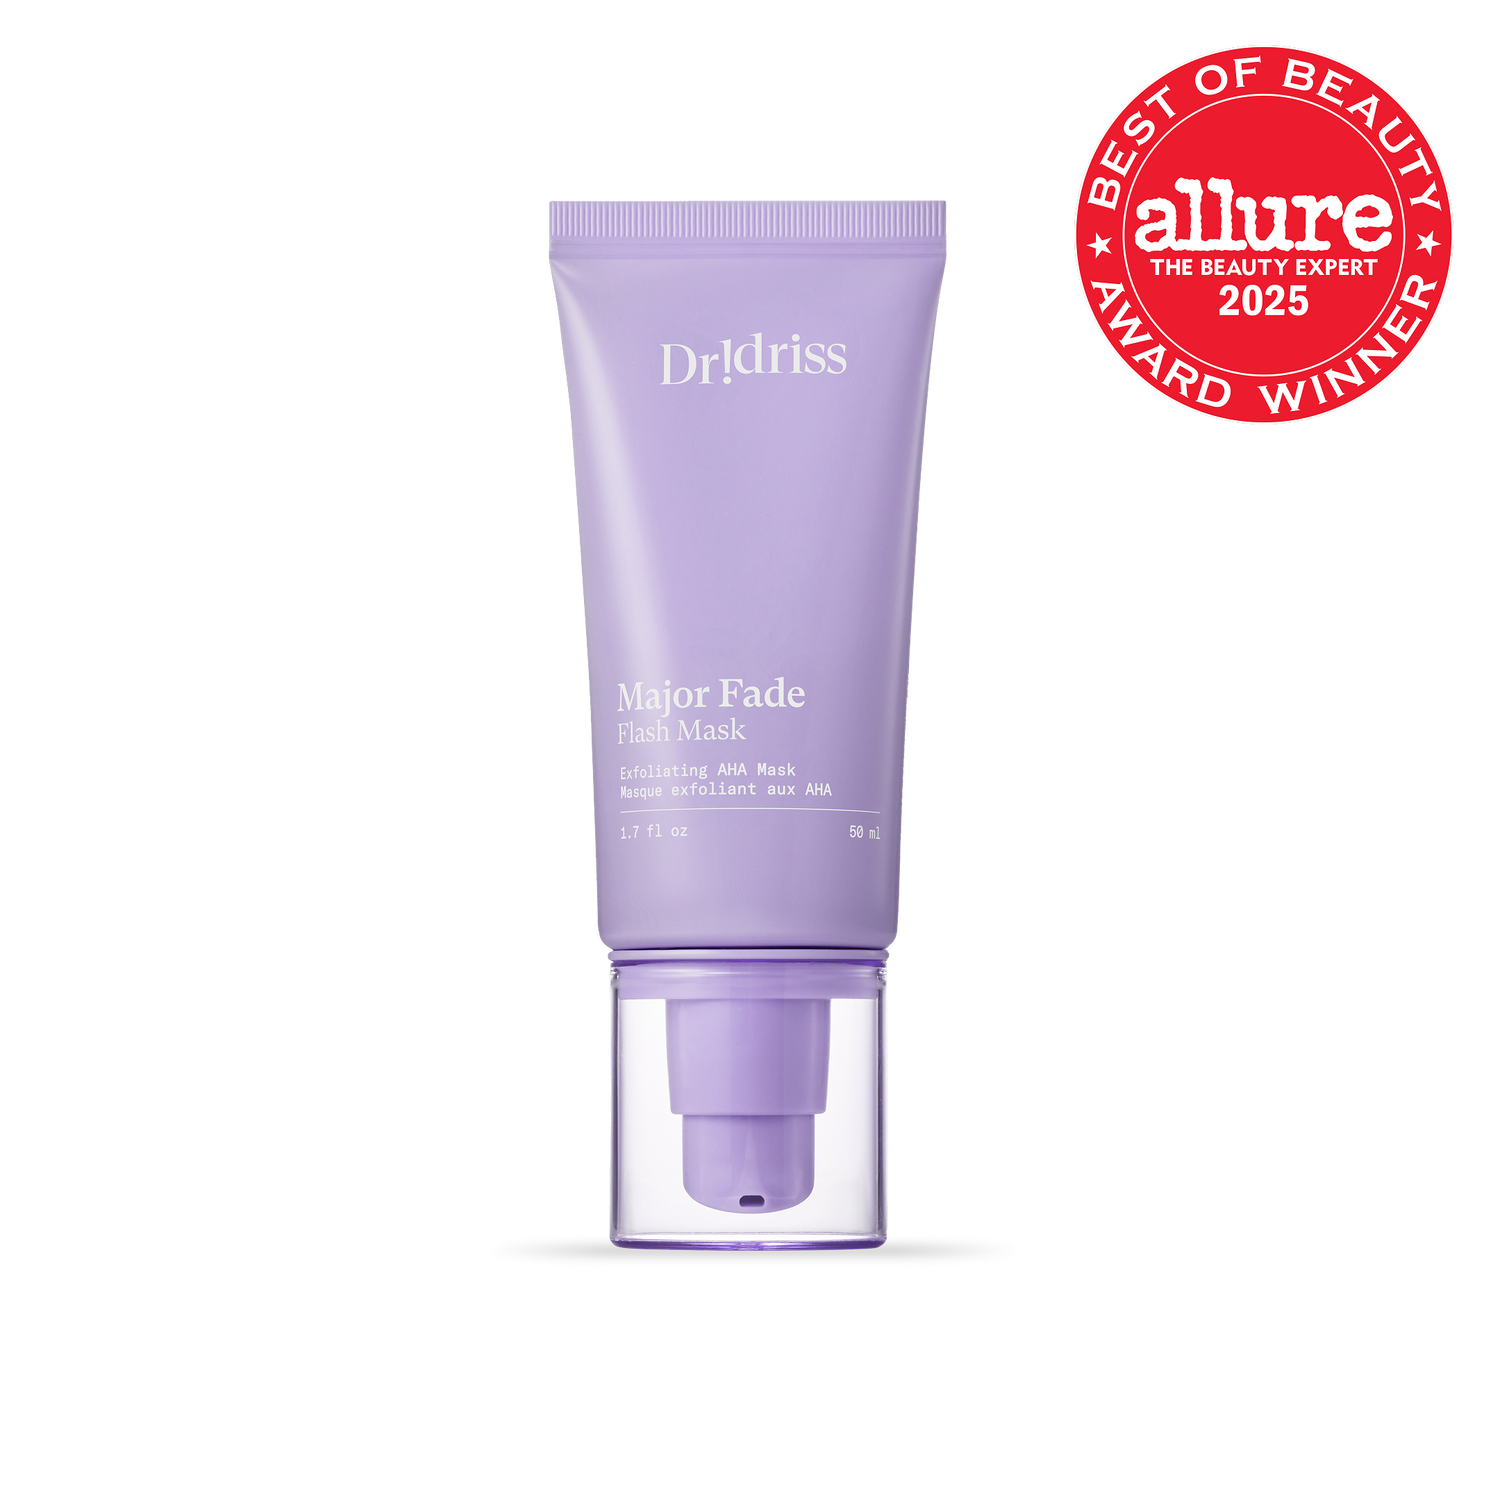
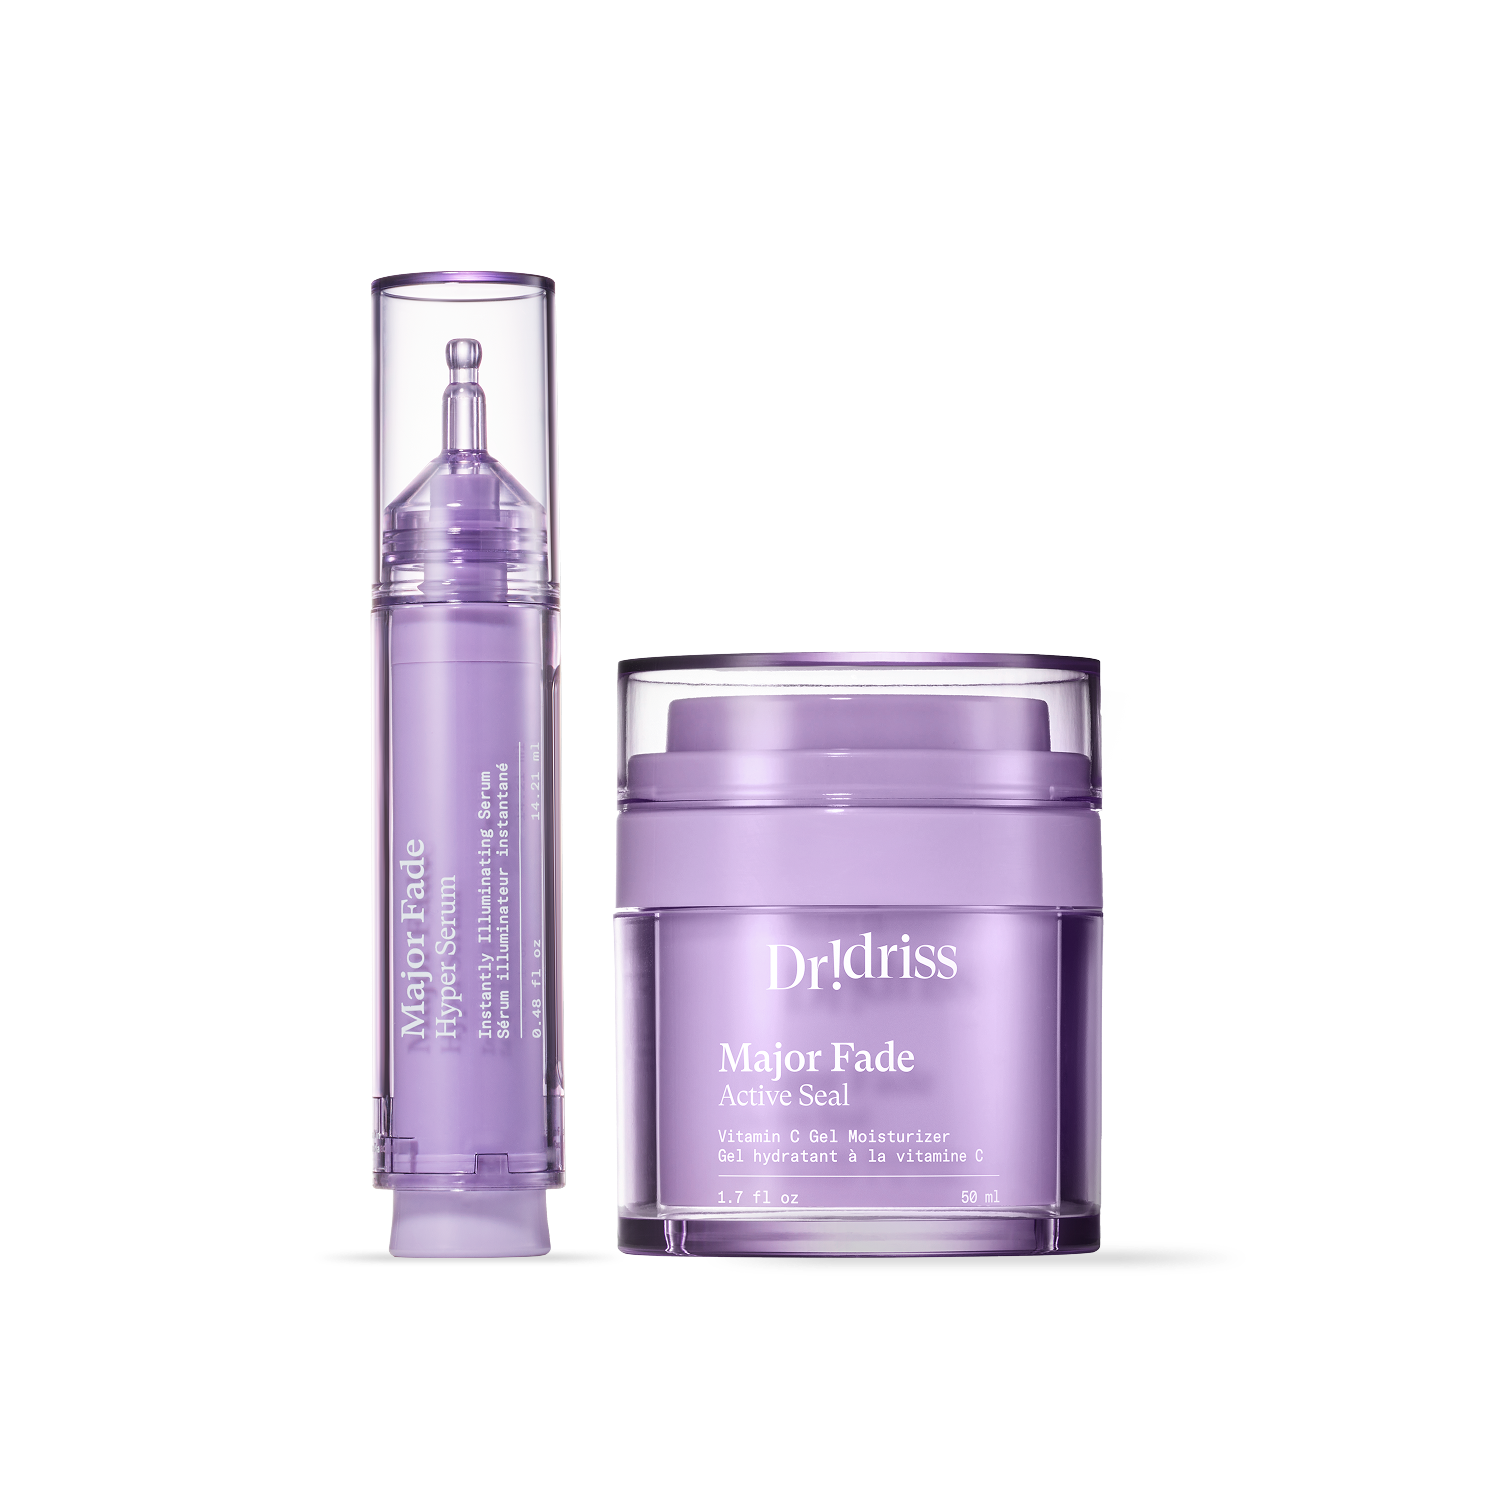
I hope this beginner’s guide helps! You can shop my fave skincare products down below:


