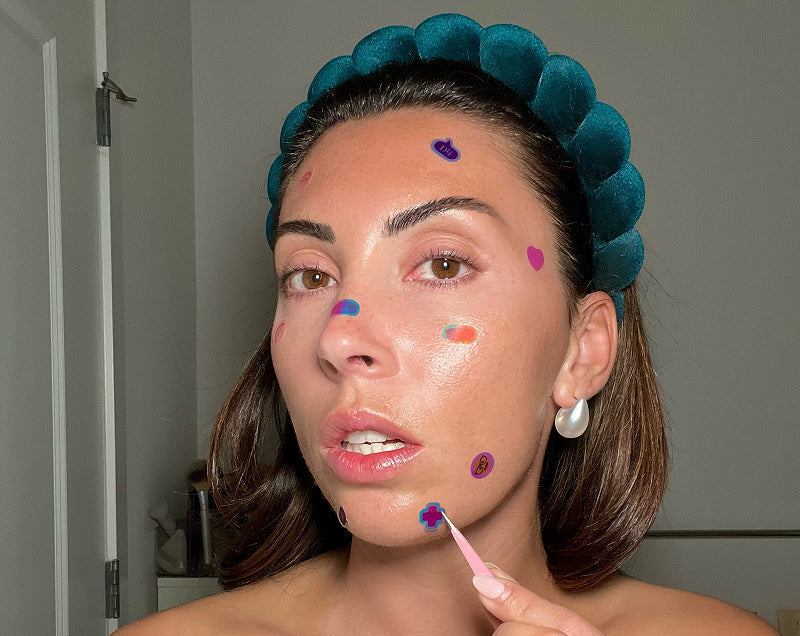
So today, I will be giving you guys a glimpse into my nighttime skincare routine. As I’ve said, again and again, a thorough skincare ritual before you hit the sack is non-negotiable. This simple task can aid in preventing breakouts, inflammation, wrinkles, and other unwanted skin woes.
During the course of the day, your skin accumulates all kinds of buildup and gunk, and the last thing you want is dirt, makeup, and oil-clogged pores coming between you and the skin of your dreams. A worthy tip? Always do your nighttime routine as soon as you step into your home. I know how exhausting work can get, but doing your skincare in the early evening will give your products a little more extra time to work.
My biggest skin concern right now is pigmentation — scroll down as I showcase my step-by-step PM skincare routine with holy grail product picks for uneven tone:
Step 1: Makeup Removal
I love micellar water — Bioderma's Sensible H2O is a bathroom cabinet staple of mine, but if you’re on a tighter budget, Garnier is a fairly good alternative. Soak your reusable cotton pads with cleansing water, using this to remove all face and eye makeup. Remember to be extra gentle with the eye area so avoid pulling or rubbing the skin back and forth unless you want a few fine lines to perk up later.
Step 2: Cleanser
I 10/10 recommend the Vanicream Gentle Facial Cleanser — it’s a great and affordable formula for sensitive skin types that doesn’t leave your skin feeling stripped. Also, remember to change your face towels every two days as they can become breeding grounds for bacteria, which can then catalyze acne flare-ups and infections, and I’m sure you don’t want that.
Why is double cleansing so important?
With a single cleanser, as good as it may be, there will always be some residual spots or layers left behind. One product can only do so much — this is why I double up on my cleansers to ensure skin is left fresh and free of grime. Do a white towel test, cleansing makeup off the back of your hand with micellar water only, and then use a combination of micellar and your favorite face wash, and you’ll see a visible difference between the two.
Step 3: Chemical Exfoliant
I recently discovered Environ’s Tri-Bio Botanical Revival Masque, and I can’t get enough. Its key ingredients include lactic and mandelic acid, and it’s formulated specifically for uneven tone. You can keep it on your skin for roughly 10 minutes or so, or you leave it on overnight. Because this is an exfoliator, I use it about twice a week. Once washed off, the skin glow it leaves is elite.
Step 4: Serum
Next, I apply Differin’s Dark Spot Correcting Serum, which has 2% hydroquinone (currently the highest concentration you can get over-the-counter) — if you missed my previous blog post on hyperpigmentation where I speak about this game-changing ingredient, make sure you get to read it! Hydroquinone is a really effective skin-evening agent that lightens and clears up pigmentation and age spots. You can find this serum at CVS, Target, Walmart, and Ulta.
Step 5: Eye Cream
Kate Sommerville’s +Retinol Firming Eye Cream is my current go-to. It will tingle or sting a bit at first but don’t panic — this is totally normal as it does contain retinol. Retinol-infused products are best used in the evening. I call this R&R (short for rest & retinol) as they make skin highly sensitive to UV rays, so applying them before bedtime is the safest route, and don’t forget to lather on a daily broad-spectrum SPF (30 or higher) in the daytime.
Step 6: Prescription Azelaic Acid
I use 15% azelaic acid, this is an ingredient that helps with pigmentation, and I apply it quite generously on the face. If you’re unable to see a derm to prescribe this, a great OTC option is Paula’s Choice 10% Azelaic Acid Booster, which also includes salicylic acid and licorice root.
Step 7: Retinol
A313’s Vitamin A Pomade is a great retinol ointment — you can find it at Walmart or on Amazon. It does spread a lot over the face, so a little goes a long way. On the days I don’t use the Kate Sommerville retinol eye cream, I will then extend this to the under eyes as well.
Step 8: Moisturizer
Because the A313 is such a thick occlusive, I end up not needing that much moisturizer. However, when it comes to the neck, I do apply moisturizer more densely. The neck is an area that is often neglected, and it requires just as much TLC. Always apply moisturizer first on the neck, then proceed with your retinol to minimize any irritation.
