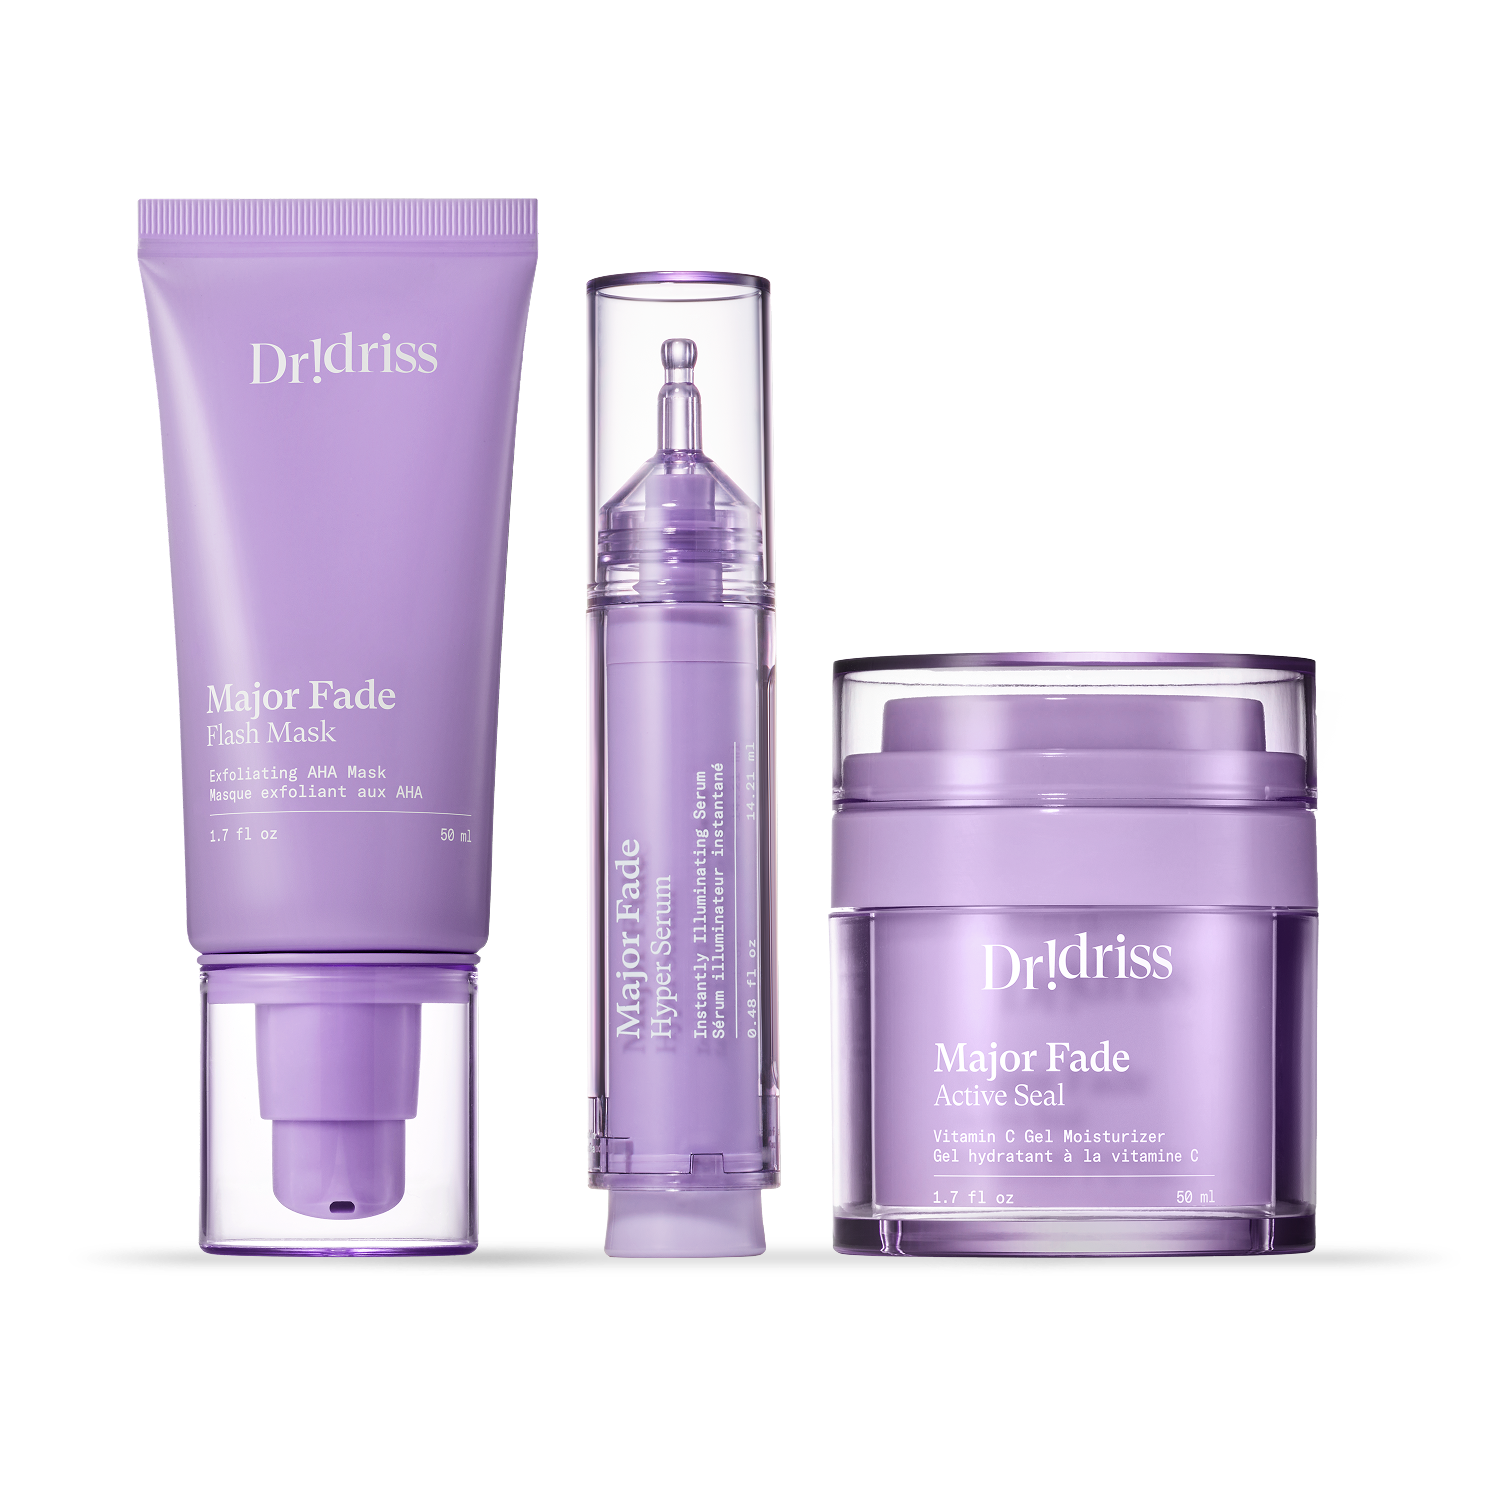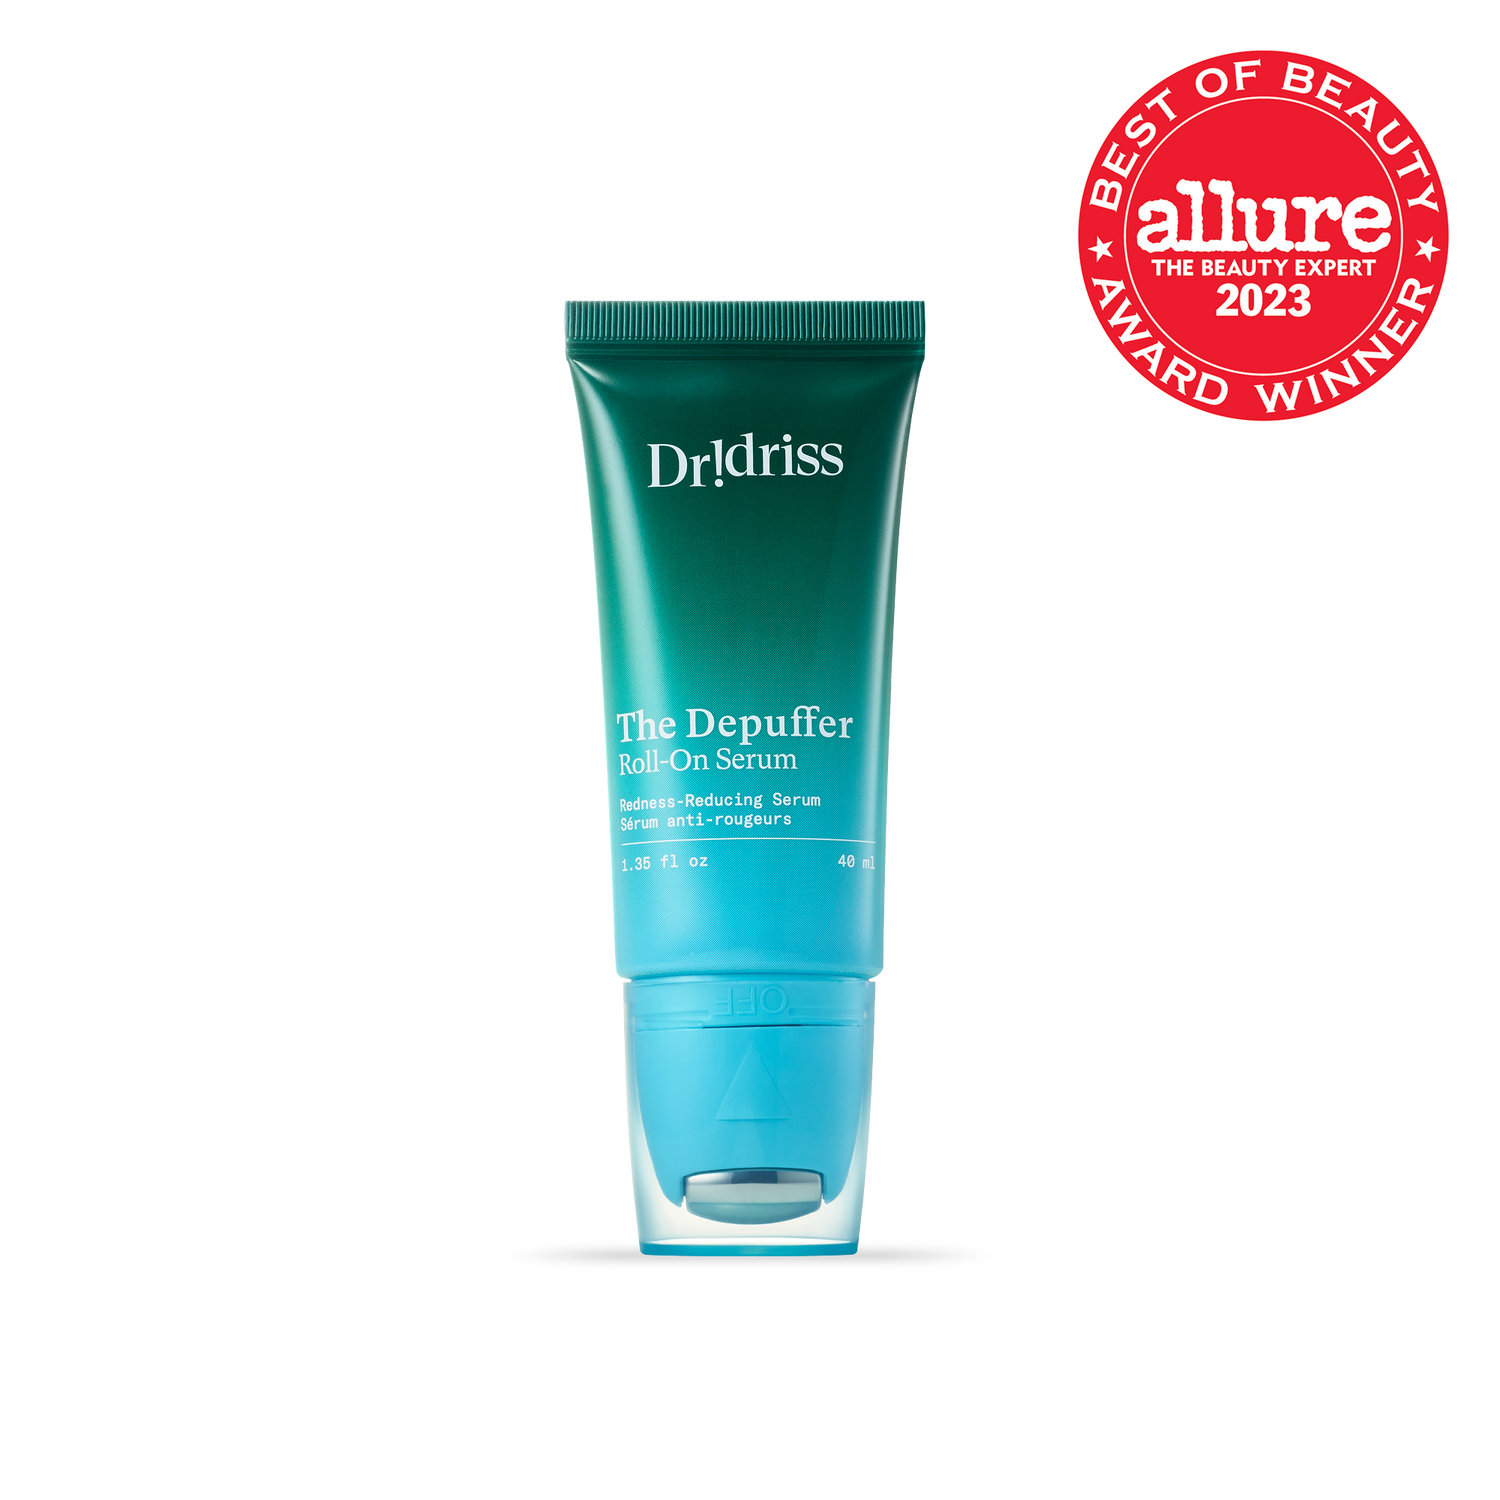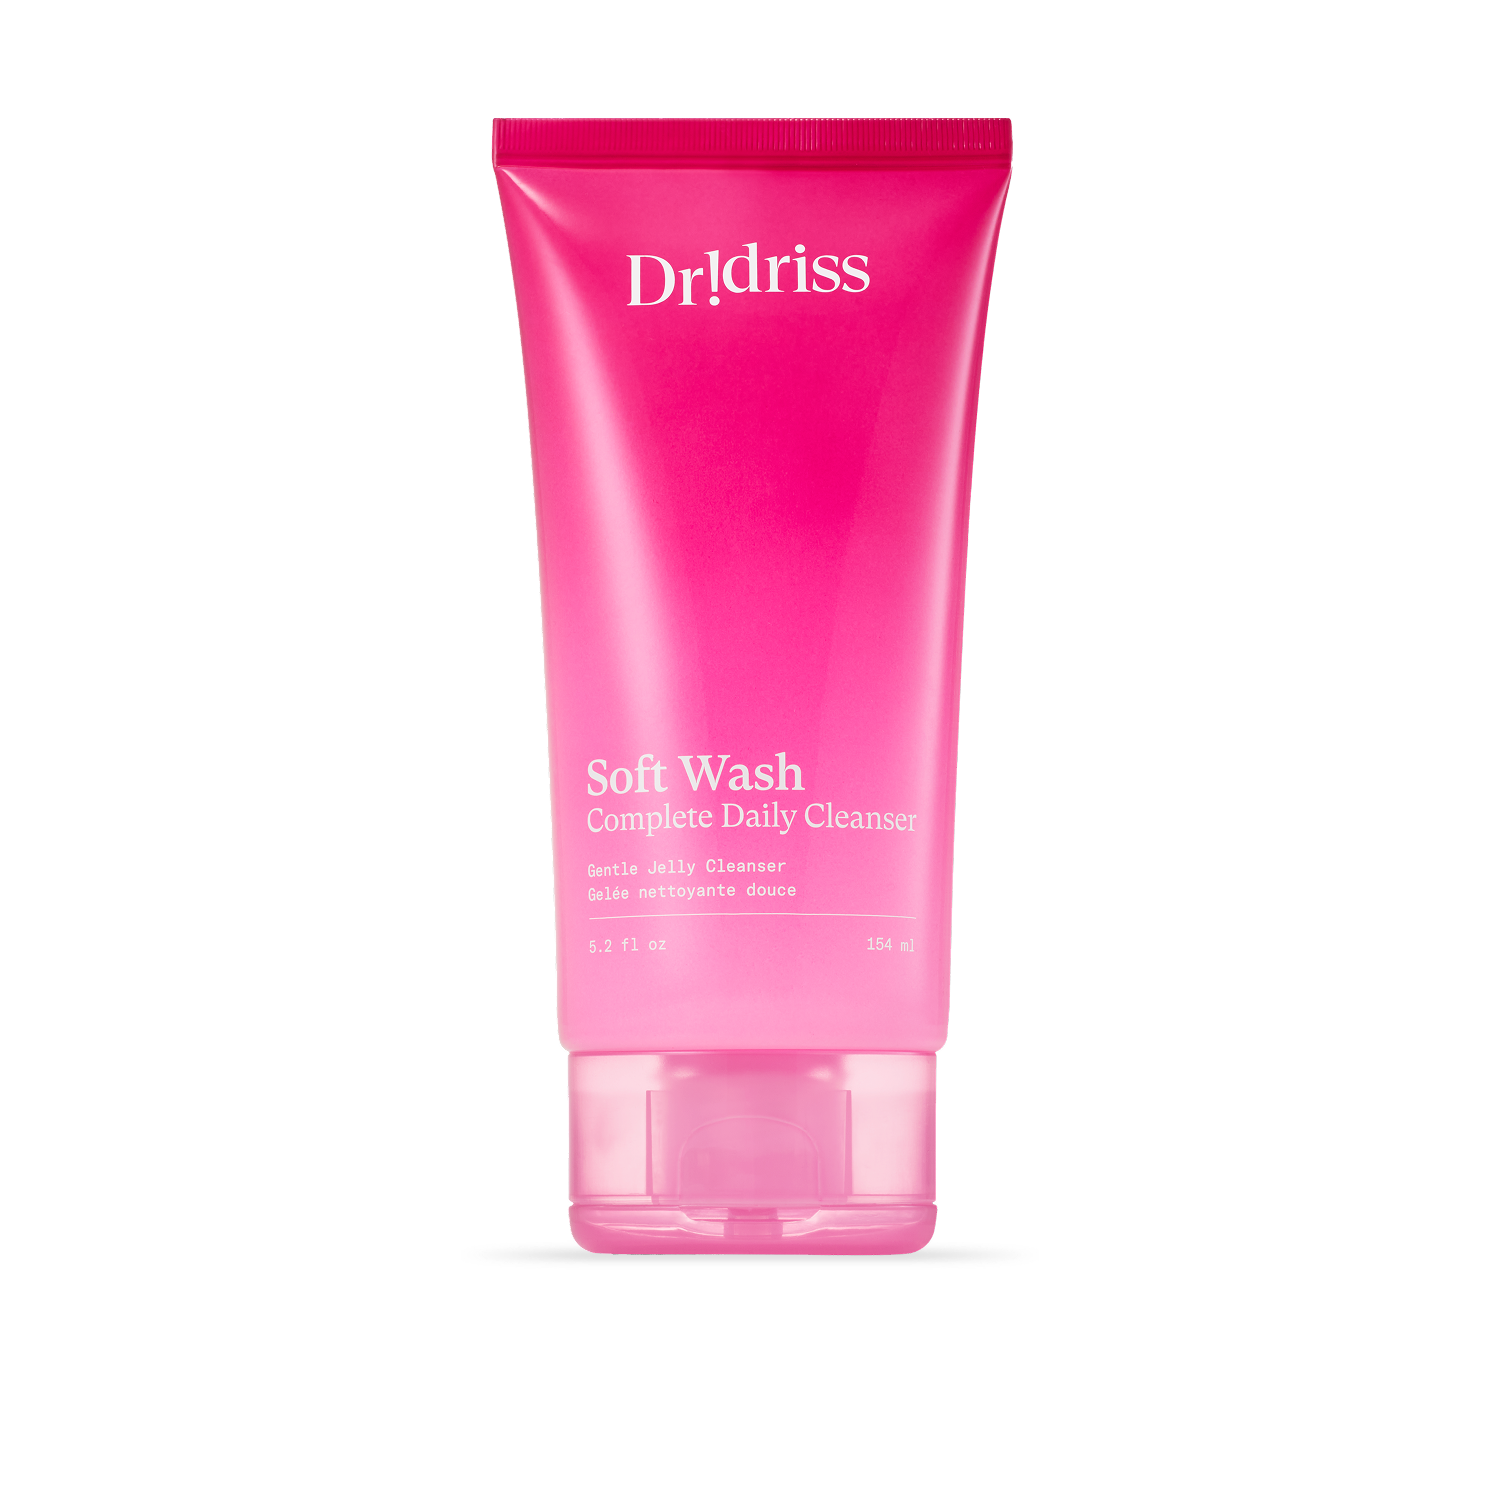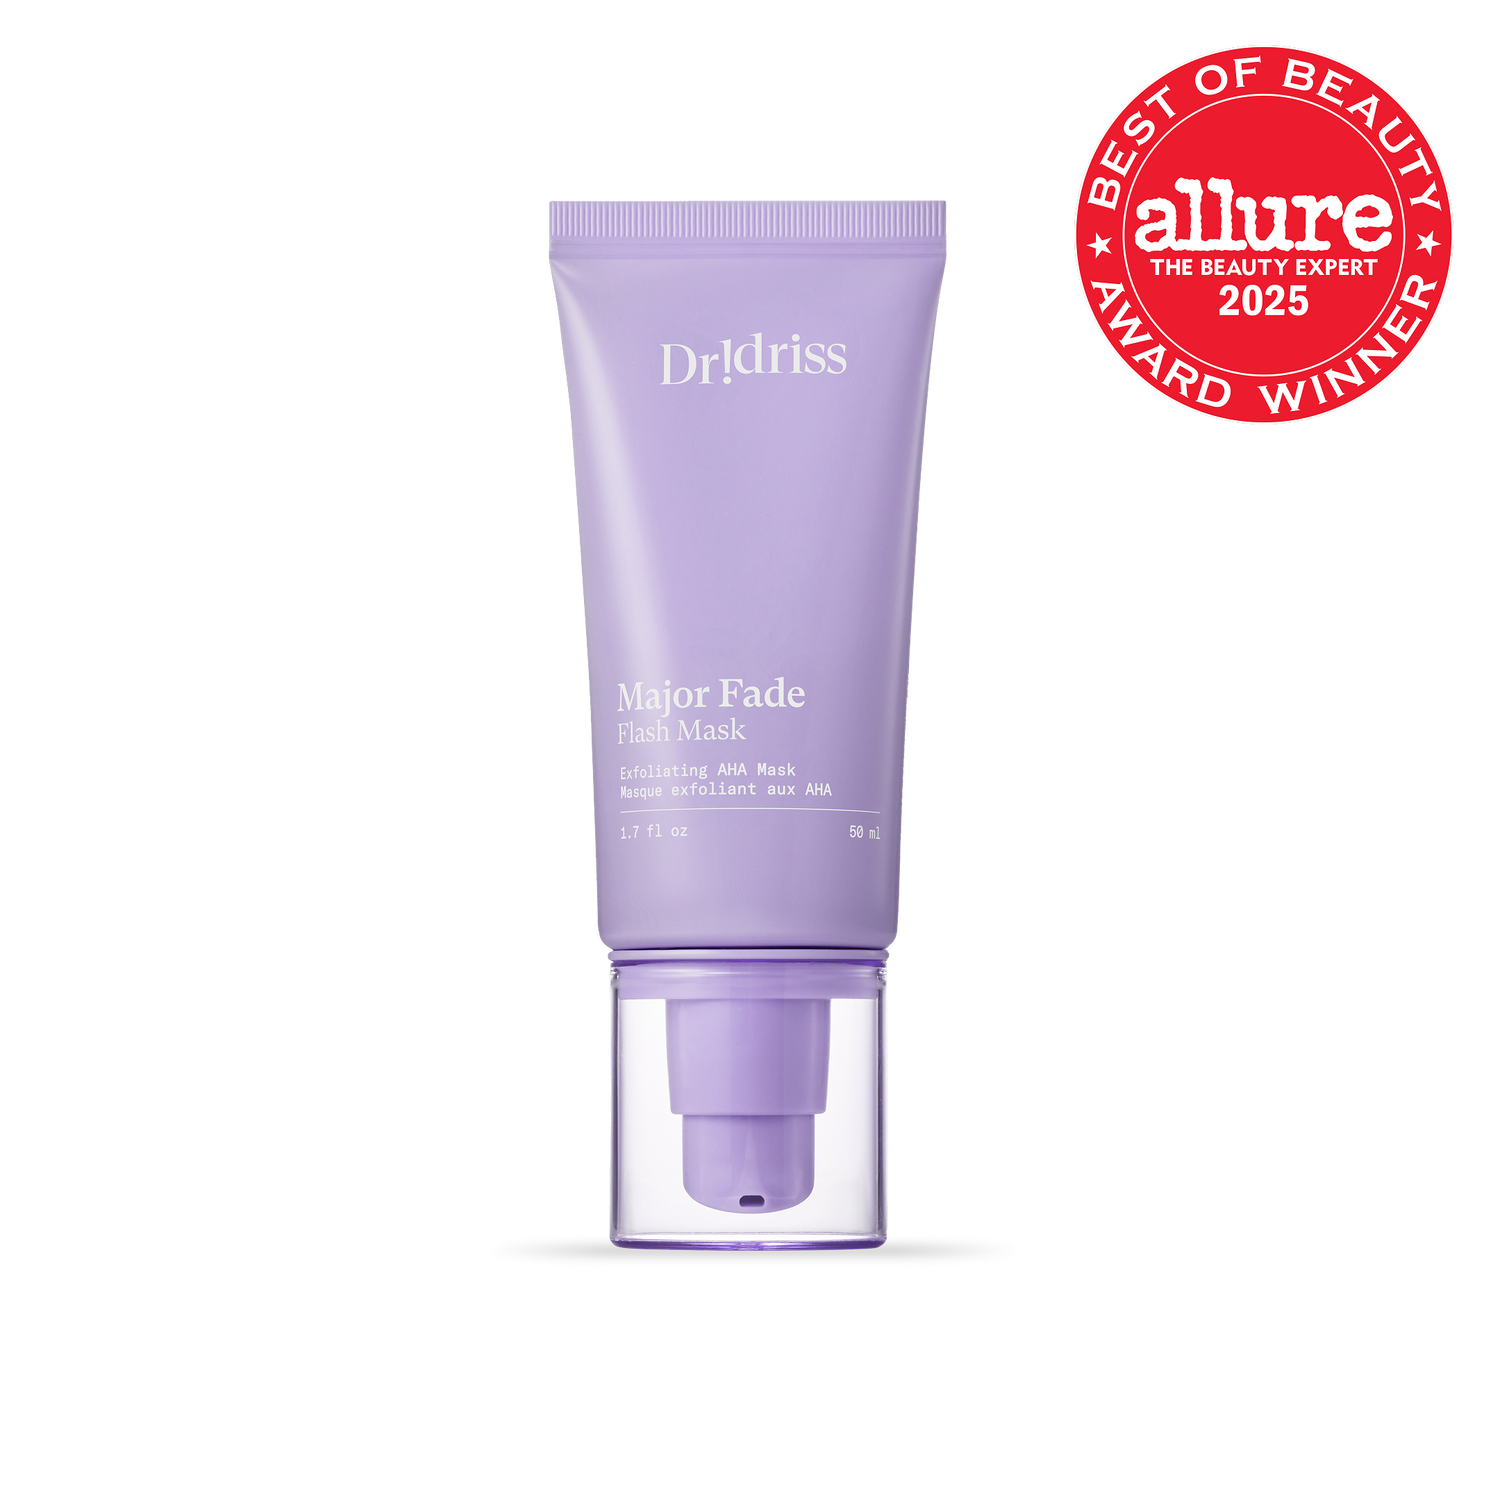
No matter how many products you utilize in your AM and PM routines, the sequence in which you apply them makes the most difference to your skin. Believe it or not, there is such a thing as a correct order in skincare cocktailing. If you’re a zero f*cks given type of person who tends to freestyle your regimen depending on your mood or the extremity of a morning rush, you could end up doing a major disservice to your skin. And I get it, squeezing a 15 minute routine into 5 minutes is a literal Olympic sport, but when you apply products improperly, you can render your entire routine useless, which I’m sure you’ll agree is not ideal.
The golden rules to skincare layering
You want to ensure that your skin gets the full benefits of your products, so your individual layers should afford each formula a moment to shine. Always apply liquids with the thinnest consistency first, like your serum, to allow the actives to penetrate deeper in the skin, then following this up with your richer creams. So avoid beginning with thicker formulations as the dense barrier formed by a moisturizer will end up blocking your serum from getting to where it needs to be, which we don’t want to happen. Also, remember that water always comes before oil, and your active ingredients (which spearhead all the magic in your regimen), should be prioritised in the early steps of your routine.
Layering up in the AM
Step 1: Water
Skip the cleanser and wash your face with water instead, this way you won’t strip your skin of its natural oils. Since you thoroughly cleansed your skin shortly before catching some zzz’s, a splash of water is more than enough to get rid of small overnight impurities, leaving you with a perfectly cleansed base.
Step 2: Serum
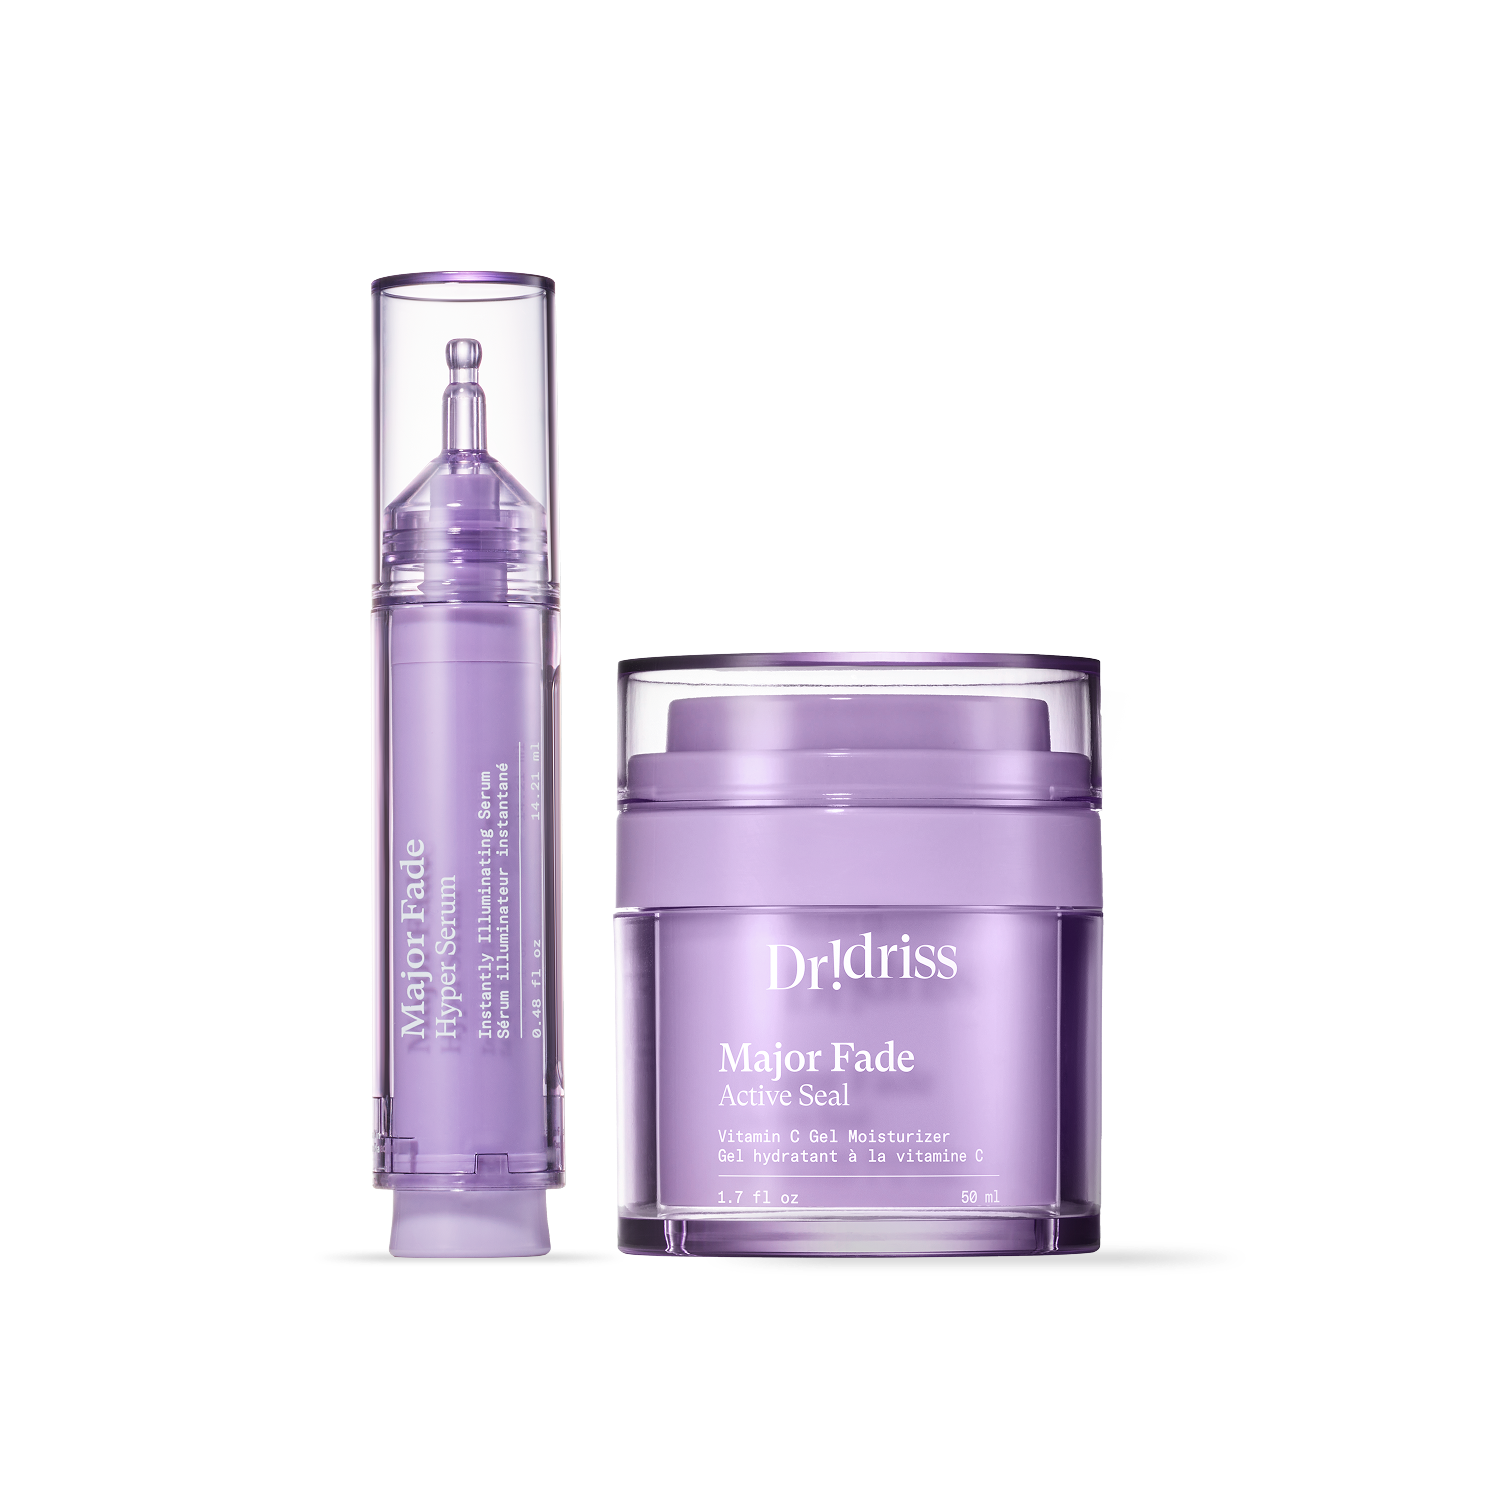
Serums carry the weight of your entire routine on their tiny little backs and do one hell of a job boosting skin health. They are potent concentrations filled with nutrients and all kinds of skin-transforming antioxidants to tackle a fixed concern like acne, dullness, or uneven tone. I advise sticking to a vitamin C serum in the AM as it helps amp up the benefits of your sunscreen and protects your skin in the process.
Step 3: Spot Treatment
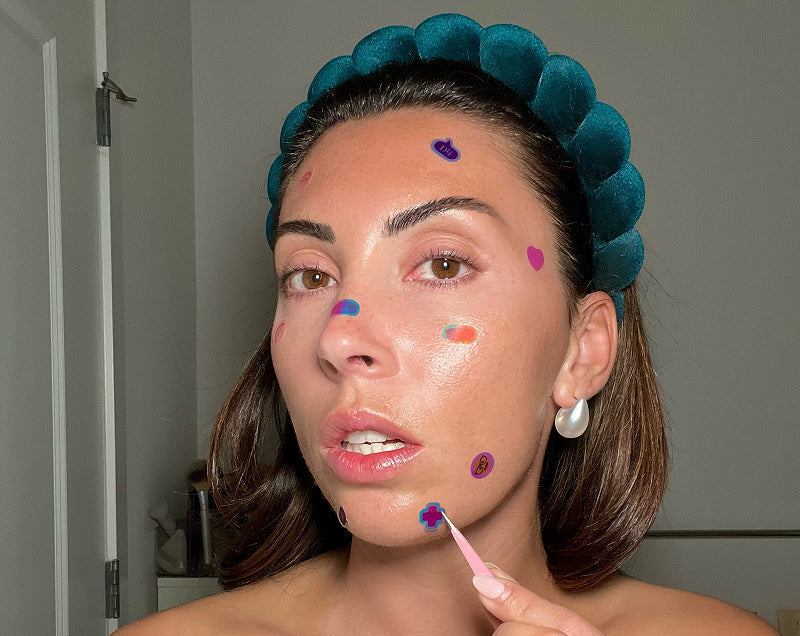
These are usually acne or dark spot targeted treatments, from gels, creams to pimple patches, that help soothe and reduce blemishes.
Step 4: Eye Cream
There’s a long-standing debate on whether eye creams are really necessary, and my answer is yes. The undereye area is the thinnest and most delicate skin on the face, so you want to ensure volume is maintained, and this is achieved through a daily dollop of dense moisture (and some SPF) to keep collagen levels intact.
Step 5: Moisturizer
This is like a superfood smoothie that also works like a protective film on top of skin, locking in all the other skin-renewing products beneath while further boosting hydration.
Step 6: Sunscreen
I know I’m stating the obvious here, and I may sound like a broken record, but in case you forgot, sunscreen should ALWAYS be the last step in your routine. Besides it being the most important step in your routine, period when it comes to preventing UV-induced skin dilemmas, it’s also pretty much your skincare’s little sidekick — boosting skin health overall.
Switching it up in the PM
Step 1: Cleanser
After a full-day holding up your facebeat and dealing with all kinds of environmental stressors, a good-quality cleanser will reset your skin, rinsing away all makeup, oil and grime for a fresh base.
Step 2: Chemical Exfoliant
This should be utilized 3-4 times a week (at most!) to prevent your skin from having a meltdown. Also be cautious when using an exfoliant with a retinol as this is something your skin needs to ease into. I honestly advise avoiding this combo altogether and rather leave it to the advanced skin nerds.
Step 3-6: The evening calls for a cocktail party and on the menu is a nightcap mix of serum (3), spot treatment (4), eye cream (5) and moisturizer (*6), which I apply in this order.
*Step 7: Retinol
Every derm and skincare lover’s favorite wrinkle-reversing miracle worker. Today, you’ll find an array of formulations available in various potencies to suit your skin needs. Overall, retinol works wonders in revving up cell turnover and collagen production.
*Keep in mind that step 6 and 7 are interchangeable, depending on your level of sensitivity. Apply them in either two ways:
- Use retinol after moisturizer. If your skin is on the sensitive side, a moisturizer will act as a buffer to minimize irritation.
- Alternatively, use retinol before moisturizer — this way a moisturizer can help boost its effects.
Step 8: Face Oil
Choosing an oil is quite tricky as they’re not necessarily one-size-fits-all blends. Marula and jojoba are best for dry skin, while rosehip is better suited for oily types. I’m not the biggest fan of these as they can disrupt your sun protection in the daytime, but they’re a great protective and hydrating covering to use before you hit snooze.
Reference: https://www.instagram.com/p/CONc_SUjvU9/?utm_source=ig_web_copy_link


